The other day I was asked if I could share some finished projects of the design videos I made. I often don't have the time to get the videos made, cut a project, photograph it and get it onto the video but I decided to take the time today to share photos of the "Scanned Stamp" video design project and the "Cut Designs Into Letters".
I was blessed by a sweet lady whom cut her letter design and shared it with me in an email. She did such a nice job I am excited to show you. I did warn her she will now be asked by Saints fans all over to make them one....lol.
The swirls project is an upcoming video. I thought it might be nice to make a video on using the new arch tool. This is one of the designs I made and hope to get the video made real soon.
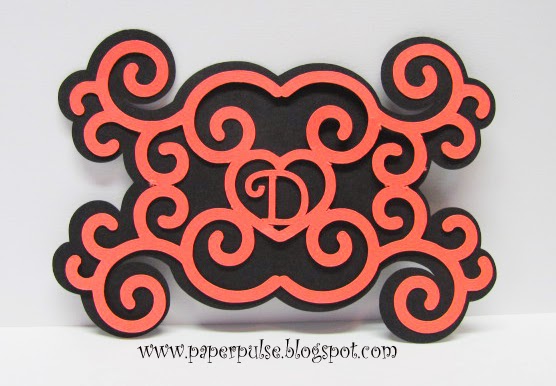 |
| Upcoming video on using the arch tool to make swirls and scrolls |
 |
| Cutting Shapes Into Letters |
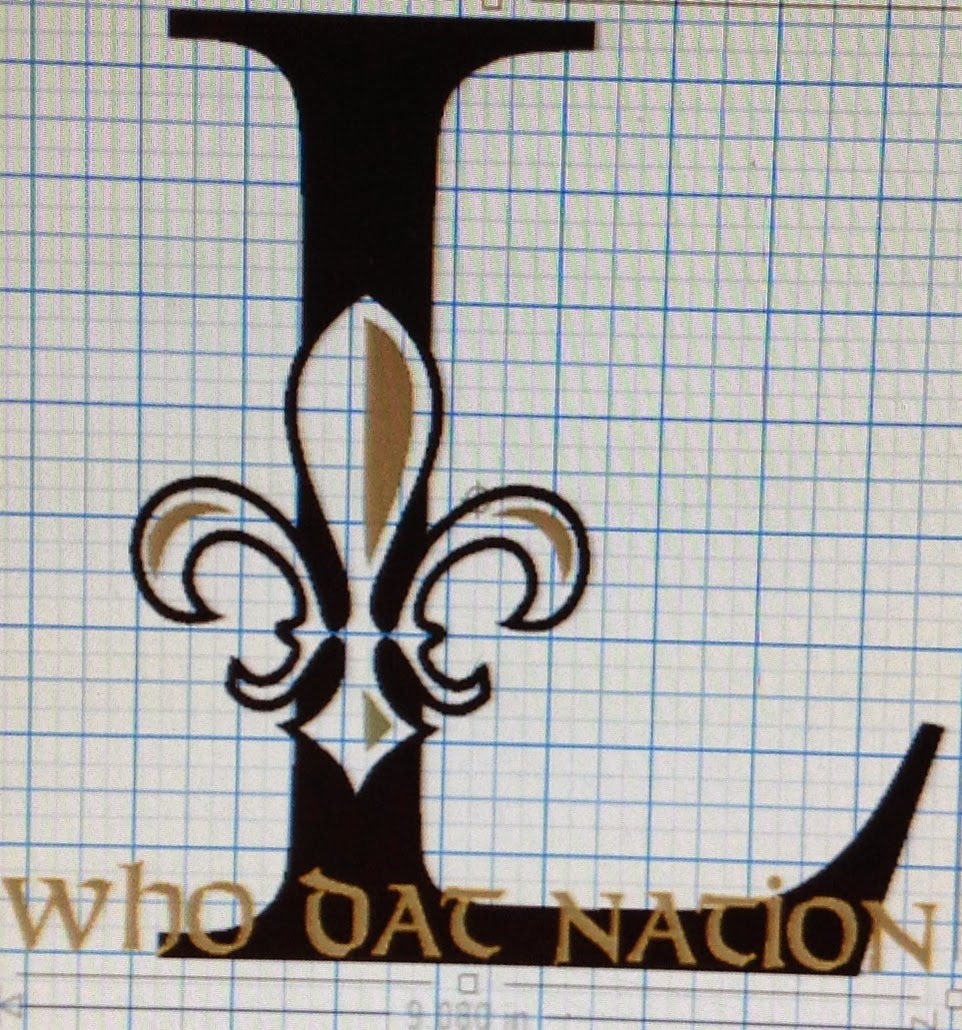 |
| Trakia's Letter "L" with Shape Cut |
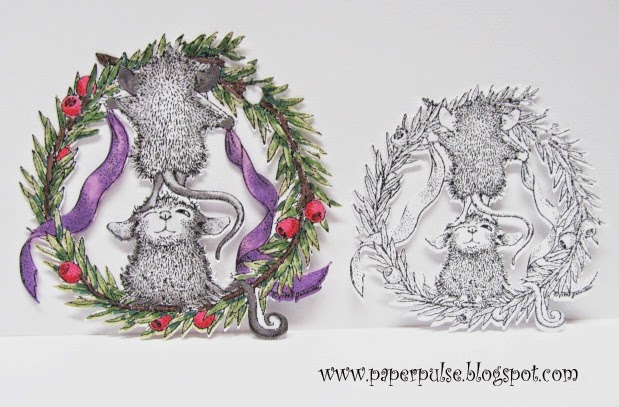 |
| Scanned and Cut Stamps |

Thank you for sharing your knowledge. I do not understand or what order is needed for the compound path release and convert. Also what is the layering used for in the new silhouette software. Thank you Nancy Wolford
ReplyDeleteHi Nancy, there is no peticular order to "release the compound path" . The only time you would need to do this is if you want the inner pieces to cut out. If you're happy with just the "outer edge" to cut out you don't need to do the second trace on your stamps.
ReplyDeleteThe layering can be used in all sorts of ways. In the picture of the "Swirls and Scrolls" image I created using the 'Arch" tool. I wanted to keep them together so I could see what they looked like layered on top of each other. I wanted a black mat and a tangerine swirl design. I placed the mat on one layer and the swirls on another layer but kept them on top of each other. I chose the mat to cut first and turned off the swirls in the layers. Next, I turned off the mat by unchecking it in the second layer and cut the design. It can also come in handy if you have parts of a cutting file you want cut on various mediums or as I did with the "swirls" design; various colors of cardstock. I've made a couple of videos and briefly covered layers but I will try to do more. I hope I was able to answe your questions well enough.If you ever need help or have any questions please email me. My "Email Me" link is on the right side of my blog. Hugs, Debbie
Looking forward to seeing the video. These cuts are awesome.
ReplyDeleteBeautiful work, Debbie! Haven't had the chance to really test out the new features of the V3 but really miss the scissors icon for the cut style :(. Thanks for all that you do to inform us.
ReplyDeleteDebbie,l I do not see an option for .png when scanning. Are you using the scanning format in the program? When I scan, I get a white square around it which I believe indicates that it is a .jpg. Can I go into another program, scan and save as .png and then bring into studio? Sorry for all the questions, just tryibng to understand. Thanks for the tutorial - understand that part perfectly.
ReplyDeleteI'm so sorry for the confusion I've created, I have my HP6500 series set up to scan everything as a .png . You can scan as .jpeg. I do have some images I scanned in as .jpegs and they work ut just as nice. I do a "Trace and Detach" on them so I can get rid of the white, square background. I hope I helped to clear up what I sure didn't make clear. Again, I am so sorry. Hugs, Debbie
ReplyDeleteThanks for your response. That clears it up for me. Have really appreciated your videos and comments on the forum. I have had my Silhouette for about 2 yrs and only cut a few items. I am making a commitment to learn this software.
DeleteAHA, trace and detach, now to remember it (G). Love your tips Debbie!
DeleteMarda
Thank you for sharing I would like to share my tip on make a cutting mat
ReplyDeleteI use a flexible chopping mat and some stick and stay and stick away on one side
and a black permanent ink marker on the back for the ruler lines
works a fine Cutting surface in knife friendly Happy cutting
from brycemargaret@yahoo.co.uk
tThank you for the tip. I've made cuttng mats for some time. Now I'm just too lazy. I began using the Cricut and Eclips cutting mats and load up on them when they are on sale. It's not a savings like the ones that are made but for me it's time saving to buy them. i just bought two Eclipse mats for $7.18. They last for such a long time. It's hard for me to pass up.I'm sure many will read your tip and love your money saving tip. Thank you for sharing. Hugs, Debbie
DeleteYour designs are beautiful! I don't know why you don't sell them on the Silhouette online store. : ) You have given me the courage to make some of my own designs. I have to try the one with a design in a letter because I like that look! Big Hugs!!
ReplyDeleteAwww...thank you Becky Jo. I love designing but never htought about selling them. The ony thing I do from time to time is create certain files for donations. It is so much fun for me to teach others how to create their own designs. It makes me feel great to learn they are having as much fun creating as I have. You are just so sweet to say this. It made my day. Big hugs, Debbie
DeleteThank you Debbie, you are so good to us.
ReplyDeleteHugs
Helen